Blog
Remediation Bridge v2: What Changed and Why

Table of Contents
The first version of Remediation Bridge worked. It also collapsed under load at exactly the wrong moment — during a cascading disk-fill event across 4 nodes — because it was built to handle 2 concurrent remediation jobs, not 2 dozen.
That’s what shipped v2.
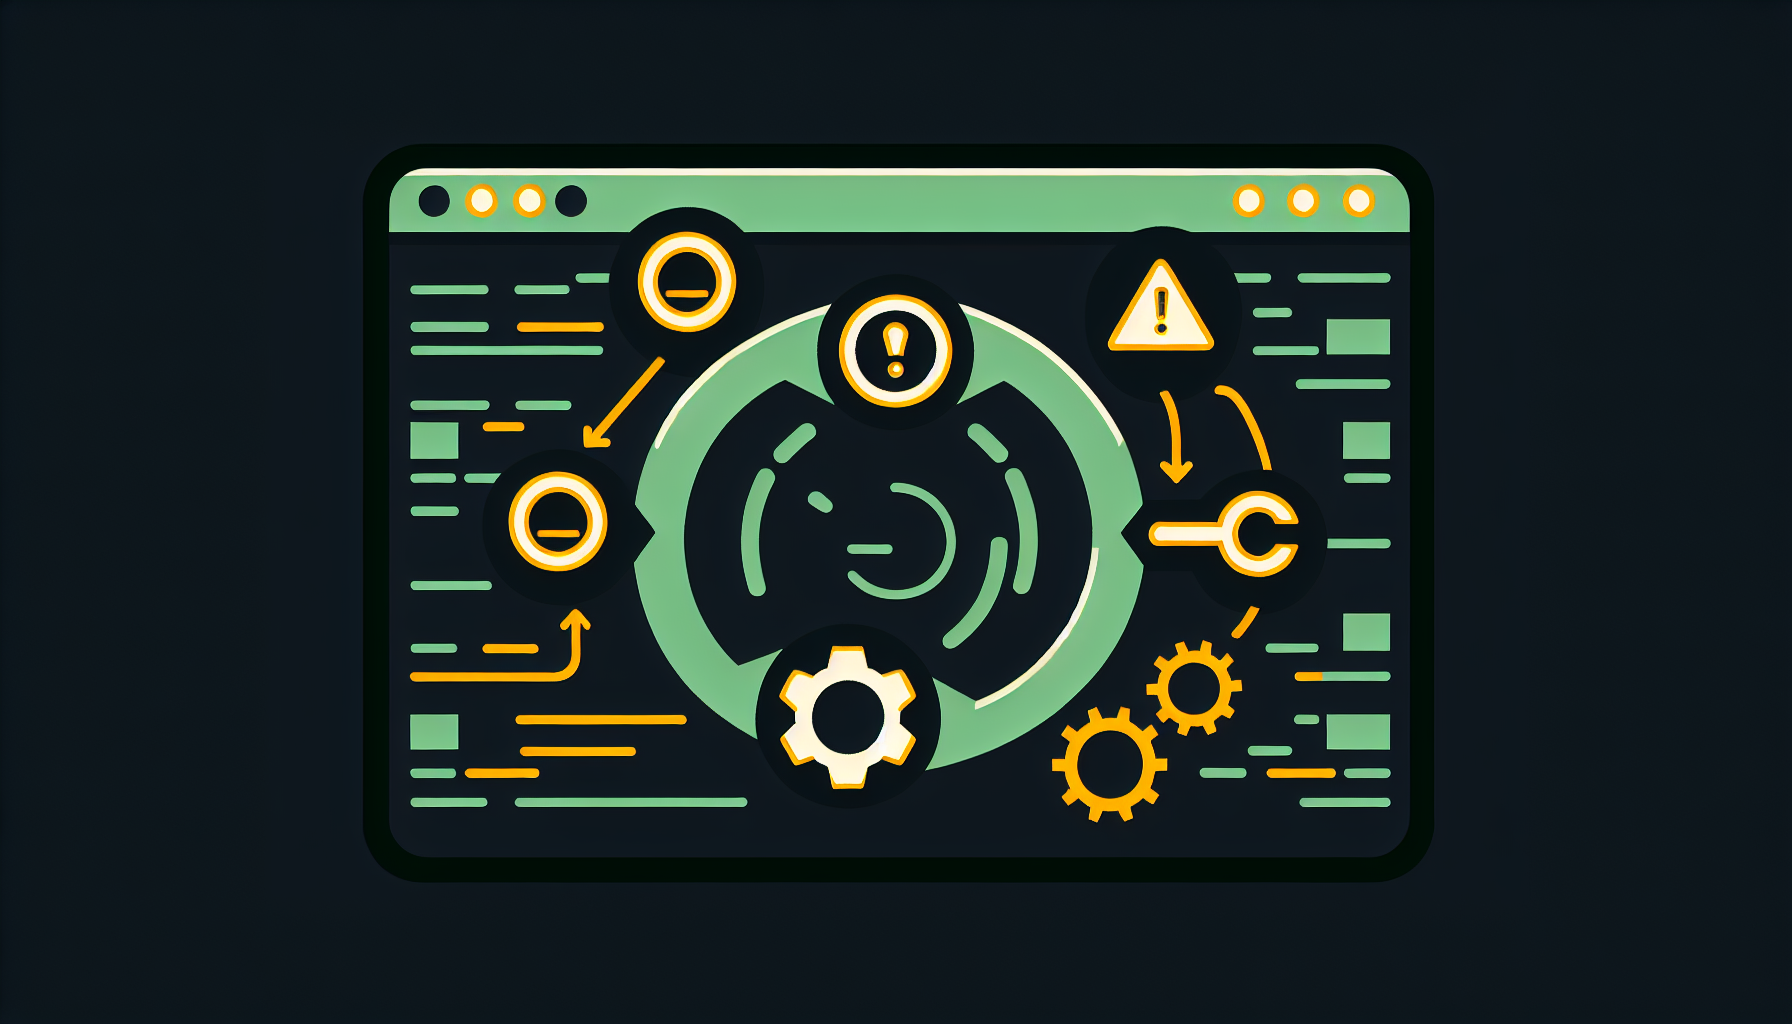
What Remediation Bridge Does
Remediation Bridge is the layer between your alerting stack and your automated fix logic. When a threshold fires — disk at 90%, memory leak detected, zombie process accumulating — something has to translate that signal into an action. Bridge is that something.
v1 did this sequentially. Alert in, job created, job executed, result logged. Clean enough when the world cooperates. Brittle when it doesn’t.
Where v1 Broke
The architecture was a single-queue, single-worker model. One job processed at a time, with no backpressure handling. When 4 alerts fired simultaneously — which happens constantly in real environments — jobs stacked up behind each other. The disk-fill event was still “remediating” on node 1 while nodes 2, 3, and 4 crossed their own thresholds.
The monitoring system saw 4 problems. Bridge saw a queue. By the time it caught up, two nodes had gone read-only.
The deeper issue: v1 treated remediation as a serial process. Infrastructure failures are parallel by nature. The architecture needed to match that reality.
What Changed in v2
Parallel Job Execution
The queue is gone. v2 uses a worker pool with a configurable concurrency ceiling. By default, it runs up to 8 simultaneous remediation jobs. The ceiling exists to prevent the remediation layer itself from becoming a resource problem — running 40 disk-cleanup jobs at once on a shared NFS host is its own incident.
Jobs are dispatched the moment a slot opens. No waiting for the previous job to finish.
Typed Job Routing
v1 treated every remediation job identically. v2 classifies jobs at intake:
- Critical — disk full, OOM, process crash. Immediate dispatch, no deferral.
- Standard — log rotation, temp cleanup, cert renewal. Queued, rate-limited.
- Advisory — non-blocking housekeeping. Runs opportunistically when workers are idle.
This matters because a log rotation job shouldn’t compete with a disk-full recovery on the same worker slot. Before v2, it did.
Idempotency Enforcement
v1 had no deduplication. If 3 alert rules all fired on the same disk-fill condition — which they did, because teams build overlapping monitors — Bridge created 3 jobs. Each tried to run the same cleanup script. Two of them failed with file-already-deleted errors and logged noise that looked like real failures.
v2 hashes the target node + remediation type + a 60-second window. Duplicate signals within that window produce one job. The others are logged as deduplicated, not discarded silently.
Result Propagation
v1 logged job results to a file. That was it. You had to know to look.
v2 publishes structured results back through the same event bus that fired the original alert. Your alerting system sees the remediation attempt, the outcome, and whether the original condition cleared. If the condition didn’t clear — disk still full after cleanup ran — Bridge emits a remediation_failed event rather than silently marking the job complete.
This closes the loop. Before v2, you could have a remediation “succeed” while the underlying problem persisted. Nobody would know unless they manually cross-referenced alert history with job logs.
The Architecture Decision That Hurt
The parallel worker pool required a real decision about job isolation. If two jobs run simultaneously against the same node — say, a disk-full remediation and a log rotation — they need to not conflict.
v1 didn’t have this problem because it was serial. v2 had to solve it.
The approach: per-node job locking. Before a job dispatches, Bridge acquires a lock keyed to the target node and remediation type. A second job targeting the same node + type blocks until the first completes or times out (30 seconds, configurable). Different remediation types on the same node run in parallel.
It’s not complicated. But it required actually deciding how much concurrency was safe at the node level versus the cluster level, which is a question v1 never had to answer.
What the Numbers Look Like
In the 3 weeks since v2 deployed across a mixed fleet of 47 nodes:
- Average time from alert to remediation start: 4 seconds (down from 23 in v1)
- Duplicate job rate: 0 (was ~18% of all jobs in v1)
- False-positive “remediation succeeded” events: 0 (unmeasurable in v1 — there was no failure propagation)
- Jobs that exceeded the concurrency ceiling and waited: 11 across 3 weeks, all during a bulk cert renewal that could have been scheduled better
The cert renewal situation is a known gap. Scheduled bulk operations and reactive remediations share the same worker pool. That’s a v3 problem.
The Practical Takeaway
If you’re building or evaluating a remediation layer, the threshold question isn’t “does it fix things” — it’s “does it fix things when multiple things break at once.” That’s the only scenario that actually matters. Single failures in isolation are easy. Parallel failures at 2am are where architectures reveal themselves.
Build deduplication in from the start. It’s trivial to add at design time and painful to retrofit once your logs are full of phantom failures. And close the feedback loop — a remediation system that can’t tell you whether the condition cleared is just adding noise to your incident timeline.
v2 isn’t perfect. But it handles the scenario v1 failed at, and it fails loudly enough that you know when it’s struggling.